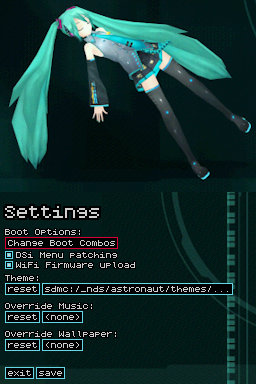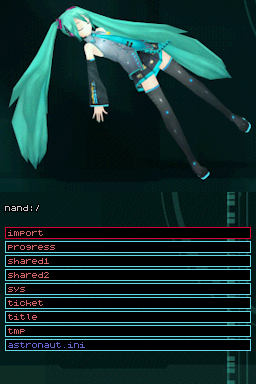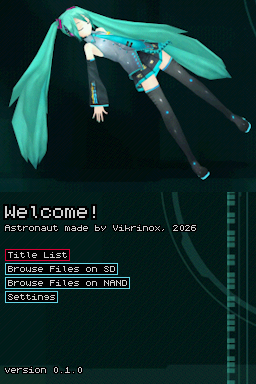
Hatsune Miku Project Diva
KaiDownloads
Download Hatsune Miku Project Diva.7z Last Updated:
Theme Installation Instructions
-
Download
Hatsune Miku Project Diva.7z. -
Open/Extract the
.7zarchive. You can use 7-Zip to do this. - Inside the 7z archive, you will find a folder called
Hatsune Miku Project Diva. Copy this folder to_nds/astronaut/themeson your DSi’s SD card.- If the
themesfolder doesn’t exist, create one.
- If the
-
Place the SD card back into your DSi, then hold both
AandBbuttons and turn on the console. -
Astronaut’s main menu should be displayed. Select
Settings. -
Under the
Theme:option, tap the theme path box next to theresetbutton. It will show your current theme’s path if one is set, otherwise it will display<none>. -
You will be taken to Astronaut’s file picker to select your theme’s
theme.inifile. -
In the file picker, navigate to
_nds/astronaut/themes/Hatsune Miku Project Diva. Lastly, select thetheme.inifile to apply the theme. -
You will be taken back to the settings menu after selecting a
theme.inifile. Press thesavebutton to save changes. - Reboot the console by pressing the power button to view your new theme!